
Opt Out Guides
PubWise Opt Out Guide
Before You Opt Out of PubWise, Check Your Exposure
Privacy Writer
A. J. MercerAva J. Mercer
Updated
Read
5 min
Before You Opt Out of PubWise, Check Your Exposure
PubWise can connect your activity to identifiers like a name, address, or phone, which can increase privacy risk if shared too widely. The website typically supports online advertising by organizing signals from web pages and mobile applications into records that help deliver content or advertising. That can include cookies and similar technologies, as well as device details that relate to personal data, depending on settings and context.
How to opt out of PubWise
Go to the official contact page, submit your name/email/phone, then confirm using a verification code or link. This usually takes 7–14 days. If you want to protect your privacy, keep a copy of what you submitted for follow-up.
Checklist:
- Open the official form
- Enter identifiers (name/email/phone)
- Complete CAPTCHA/verification
- Confirm via code/link
- Save the confirmation email
- Set a reminder to re-opt-out
Find out if your private details were exposed
PubWise – Quick Facts
| Parameter | Value |
| Domain | pubwise.io |
| Data Types | contacts, addresses, device identifiers, and possible social identifiers |
| Opt-out Methods | web form/email |
| Identity Verification | code via email/SMS or confirmation email |
| Typical Response Time | 7–14 days |
| Re-listing Risk | medium |
PubWise is an advertising and management platform that helps manage ad inventory and deliver advertisements through an ad server and demand sources. The additional information the site collects can be based on data from digital properties, including website or app usage, to support digital advertising, attribution and analytics, and buy and sell decisions in auctions.
Common data you may find:
- Names and known aliases
- Phone numbers
- Email addresses
- Current and past addresses
- Device identifiers and browser data
- Approximate location (if enabled)
- Cookie IDs and similar identifiers
- Interest categories for interest-based advertising
- Publisher and placement metadata (at ad unit level)
- Event logs tied to impression delivery
Step-by-Step Guide
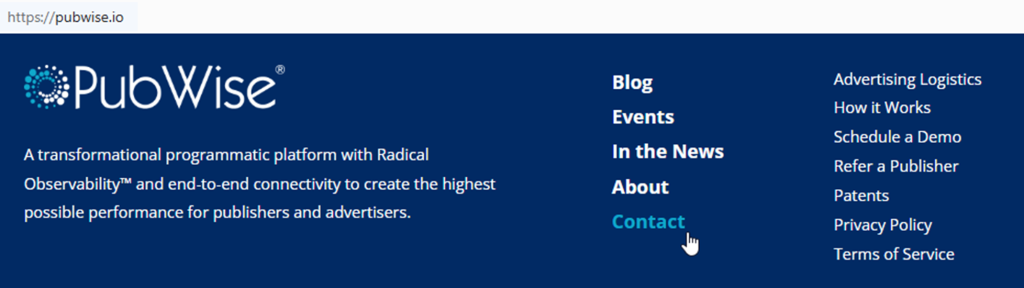
Open the official opt-out form
Start on PubWise’s official privacy page or portal and look for a “Contact” link. Check the footer for the privacy policy, too. This is where you’ll also find terms of service and notices about third parties. If you take screenshots for support, blur any identifiers. Tip: Try a private/incognito window if the page won’t load.
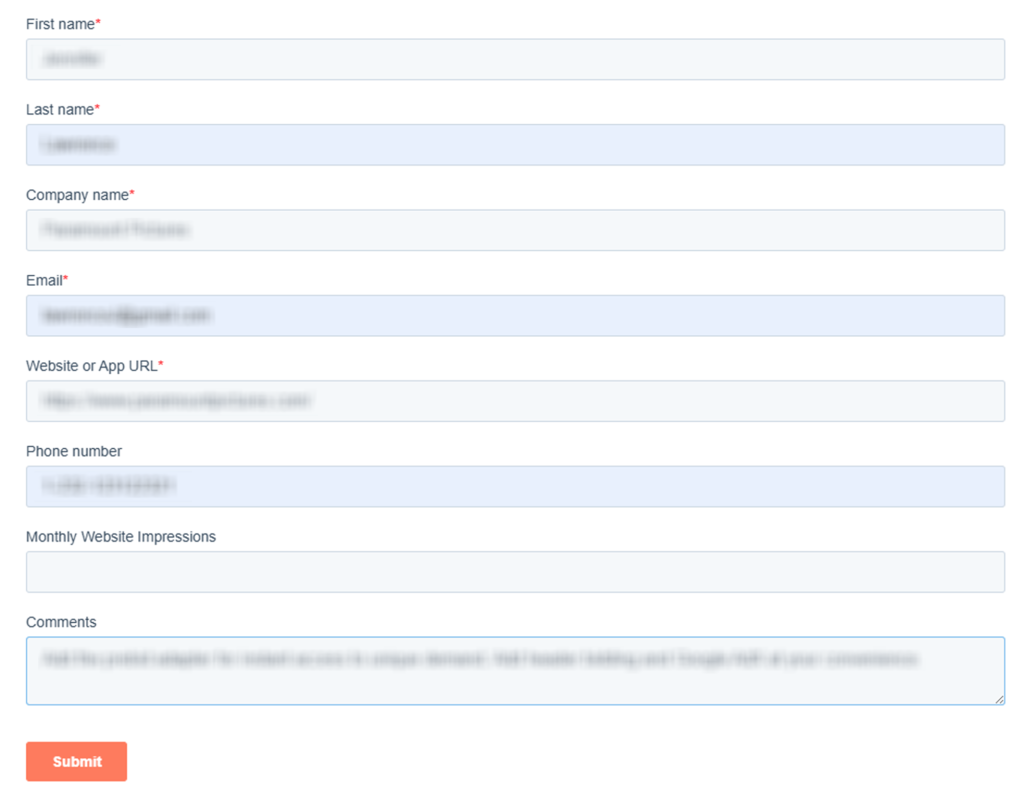
Submit your identifiers (email/phone + CAPTCHA)
In the form, enter the email and/or phone fields used for verification. Complete the CAPTCHA and review any checkboxes about the disclosure or use of your data with service providers and third-party customers and partners. Keep entries consistent – small typos can cause a mismatch and a “no match” response. If asked for more proof, use only what’s necessary and redact extras in any screenshots. Tip: Copy the request ID or confirmation text shown on-screen.
Verify via code or link (email/SMS)
After submission, look for a verification email or SMS. Enter the code in the “Verify” field or click the confirmation link. Check Spam/Promotions folders and blocked texts if nothing arrives. This step is often required before any request is processed, especially when demand partners or service providers must confirm identity. If you capture a screenshot, blur the code and any account details. Tip: Wait a few minutes, then request a resend once.
Confirm deletion / Do-Not-Sell request
Once verified, select the option that best fits your goal under the California Consumer Privacy Act (CCPA). Keep wording simple. PubWise is the perfect tool for managing privacy choices in one place when available, but you still need to follow the on-screen prompts. Tip: Save the final “Submitted” page as a PDF.

Track confirmation & timeline
Save the confirmation email and any on-page receipt number so you can track the timeline and re-check later. If the platform provides a status page, bookmark it. Some systems rely on a bidding process across demand-side platforms, and updates may take time to propagate. If you must contact support, include only the receipt ID, not full identifiers. Tip: Set a calendar reminder to re-check your settings and any remaining permissions.
Timelines, Verification & What to Expect
Most requests show an immediate on-page receipt plus an email confirmation after you verify. Processing typically takes 7–14 days, depending on the request type and how quickly changes flow to demand-side platforms and partners. You may receive a status update email or only see a final confirmation page. If nothing arrives after 14 days, use the official Contact Us link. Keep your confirmation email, since it helps if you need to reference your request later or re-opt out after re-listing.
Edge Cases & Troubleshooting
- No access to the original email/phone: use the form’s alternate identifier path, or email support and provide a new contact method for verification.
- “Record not found”: try other identifiers (old email/phone) and re-check spelling; some systems only match recent identifiers.
- CAPTCHA or submission errors: disable VPN/ad blockers, refresh, and retry; switch browsers if the page stalls.
- Verification code not arriving: check Spam, blocked SMS, and wait 10 minutes; then request a resend once.
- Form rejects the request by region (EU/UK/CA): look for region guidance; some flows reference general data protection requirements and may route you to a different form.
- Account deletion vs. public listing removal confusion: deleting an account differs from ad preference controls; choose the request type that matches your goal.
- Re-submitting after a failed attempt: correct the identifier, clear cookies, and retry once; avoid repeated rapid submissions.
- How to cancel: if you have a separate subscription tied to the service, use the account settings page and cancel there.
Will my data reappear?
Sometimes, settings or identifiers can reappear because data flows through aggregators, partner feeds, or resellers that refresh from multiple sources. In ad tech, a header bidder can still receive header bidding bids even after a preference change, and the complexity of header bidding setup can delay full propagation across an advertising platform and management platform. To reduce recurrence, keep confirmation emails, set a 3–6 month reminder to re-check, and resubmit quickly if you notice changes. Consider related removals next, especially where digital content is associated with monetization, and updates depend on analytics signals.
Manual vs Assisted Removal
Manual:
Pros
- Full control over what you submit and when;
- clear view of what you share with service providers;
- can tailor choices per device and per property.
Cons
- Time investment and repeat monitoring;
- verification steps can be inconsistent across systems;
- you must re-check periodically when data changes.
Assisted:
Pros
- Faster handling across multiple digital properties;
- help with verification and documentation;
- tracking dashboard with recurring checks and analytics from a data analytics platform.
Cons
- Less direct control over each submission;
- you still need to respond to verification messages.
We remove your data for you - faster, verified, trackable.
Discover Which Sites Share Your Private Details—Instantly and Free.
FAQ
Many privacy requests use email/phone to match identifiers and prevent fraud. You typically submit one or both, then confirm via a link or code. Use the identifiers most likely tied to your device or browser, and keep the confirmation email for reference.
Look for a preference option that limits interest categories or sharing rather than a full deletion request. You may be able to adjust settings tied to cookies and similar technologies and device IDs. Re-check after 7–14 days and repeat if needed.
Some portals show a receipt number and a status page; others rely on email confirmations. Save any request ID from the final screen and store emails. If you don’t see an update after 14 days, follow the guide’s timing steps and resubmit once.
Check Spam/Promotions and any filters that block automated messages. Wait 10 minutes, then request a resend once. If it still fails, use the support contact with your receipt ID and avoid sharing extra details.
A practical cadence is every 3–6 months, since identifiers and partner feeds can refresh. Keep your prior confirmation as proof of timing. If you notice changes earlier, re-submit quickly using the same identifiers.
Use the official request page, enter your email/phone, complete verification, and save the confirmation message. Processing often takes 7–14 days. If you don’t receive a response, use the official Contact Us link and resubmit once.
Common data includes cookie IDs, device identifiers, approximate location (if enabled), and event logs tied to impressions. These can connect to contact details through identifiers you provide for verification. Review your settings and keep records of what you submitted.
Expect 7–14 days for most requests to propagate. Some updates take longer when multiple partners are involved. Save your receipt and confirmation email, then follow up after the window using official support if needed.
Account deletion removes access credentials, while tracking limits can reduce the use or sharing of identifiers for ad delivery and analytics. Choose the request type that matches your goal and confirm the final status message.
Use the official support route listed on the site’s help or privacy pages. Provide your receipt number and the identifier type you used (email/phone), but don’t send unnecessary sensitive details. If needed, attach a redacted screenshot.

Posted by Ava J. Mercer
More Data Brokers & AdTech Removal Guides
- 33Across Opt Out Guide
- Acxiom Opt Out Guide
- AdDefend Opt Out Guide
- AdElement Opt Out Guide
- AdMarketplace Opt Out Guide
- Adstra Opt Out Guide
- Alesco Data Opt Out Guide
- Allant Group Opt Out Guide
- Anteriad Opt Out Guide
- Appier Opt Out Guide
- Aristotle Opt Out Guide
- Arity Opt Out Guide
- Buyerlink Opt Out Guide
- Complete Mailing Lists Opt Out Guide
- CoreLogic Opt Out Guide
- Data Axle Opt Out Guide
- Epsilon Opt Out Guide
- Exactag Opt Out Guide
- FourLeafData Opt Out Guide
- FullContact Opt Out Guide
- Gemini Opt Out Guide
- Giant Partners Opt Out Guide
- Habu Opt Out Guide
- Kochava Opt Out Guide
- LexisNexis Opt Out Guide
- LiveRamp Opt Out Guide
- Lotame Opt Out Guide
- MediaWallah Opt Out Guide
- Oracle Opt Out Guide
- Outbrain Opt Out Guide
- PacificEast Opt Out Guide
- PeopleConnect Opt Out Guide
- PubMatic Opt Out Guide
- PubWise Opt Out Guide
- Quantcast Opt Out Guide
- Site Impact Opt Out Guide
- Statara Opt Out Guide
- Taboola Opt Out Guide
- VenPath Opt Out Guide
- Verisk Opt Out Guide

