Opt Out Guides
Telephone Directories Opt Out Guide
Privacy Writer
A. J. MercerAva J. Mercer
Updated
Read
5 min

A Telephone Directory listing can expose a name and address, creating a privacy risk. This service generally compiles listings from public resources and other public or commercial sources, then displays them in a lookup engine. Learn how to opt out of telephonedirectories.us, how to remove your personal information, and how to get proof for follow-up so you can protect yourself.
How to opt out of Telephone Directories
Paste the listing URL, complete the on-screen checks, and submit. Save the confirmation page for your records. Timing is not clearly stated; many listings change within a few days.
Checklist:
- Open the official opt-out tool
- Enter identifiers
- Complete CAPTCHA/verification
- Confirm via code
- Save the confirmation email
- Set a reminder to re-opt-out
Find out if your private details were exposed
have already used our service
Telephone Directories – Quick Facts
| Parameter | Value |
| Domain | telephonedirectories.us |
| Data Types | contacts, locations, contact numbers, possible social identifiers |
| Opt-out Methods | web tool or written submission |
| Identity Verification | confirmation on-screen; may ask for a profile URL |
| Typical Response Time | often a few days |
| Re-listing Risk | medium |
It is a website that says it adds info from public directories, business websites, social networks, and other public sources. It notes that its takedown tool is meant to remove public listings from this site (not third-party sources). Contact options are available via the Contact section, which also supports written submission. This is a typical data broker pattern.
Common data you may find:
- First and last names
- Home addresses
- Relatives (family members)
- Location history
- Possible social profile links
- Identifiers like a zip code
Step-by-step guide
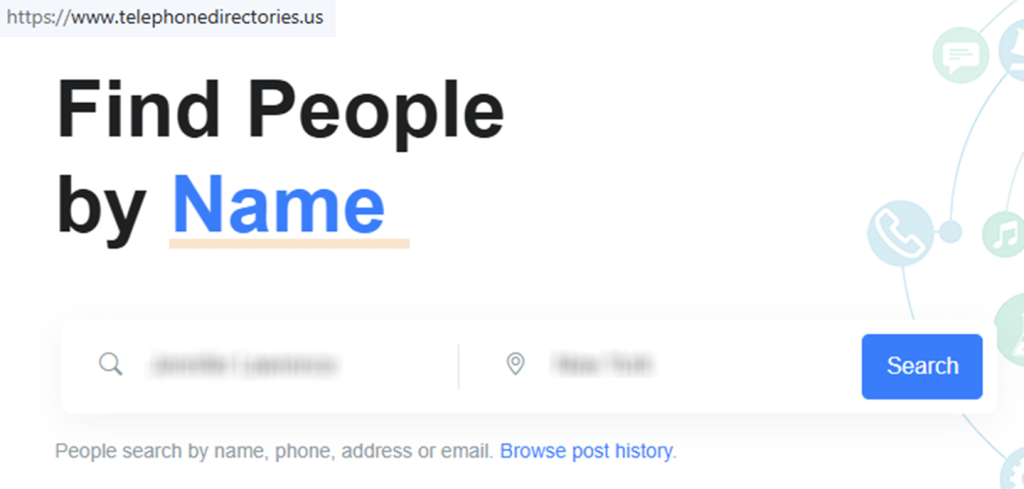
Search for your data
Confirm you’re on telephonedirectories.us. Search for your name/email to use a listing URL. Before taking any screenshots, blur sensitive details, and close other tabs that show identifying content. If you contact support, share only what is necessary.
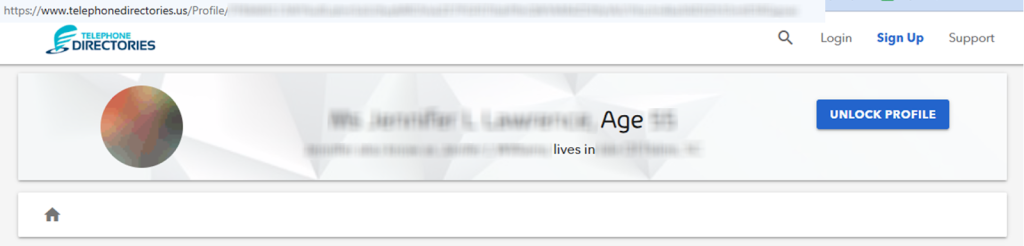
Copy your listing URL
Copy your listing URL from the address bar, then paste it into the tool. Add matching details if asked, such as your city and state. Use the same spelling the listing uses. Complete the CAPTCHA and submit. Tip: Use copy/paste shortcuts to avoid typos, remove extra spaces, and double-check that you pasted the copied profile URL correctly. If you hit an error, reload once and try again in a different browser profile. Redact any sensitive fields in screenshots before saving or sharing.
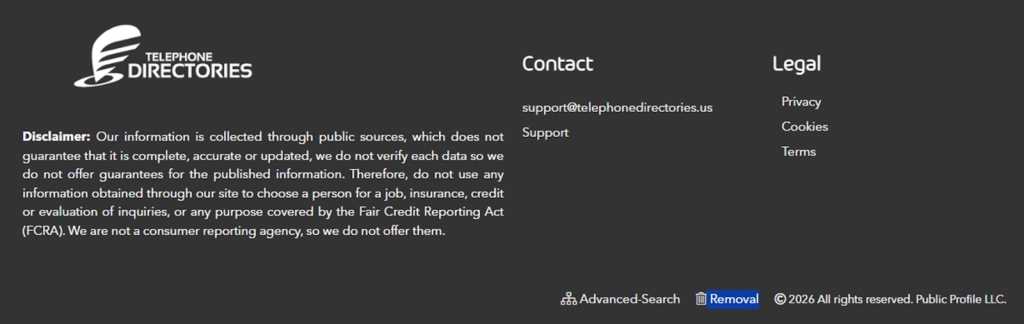
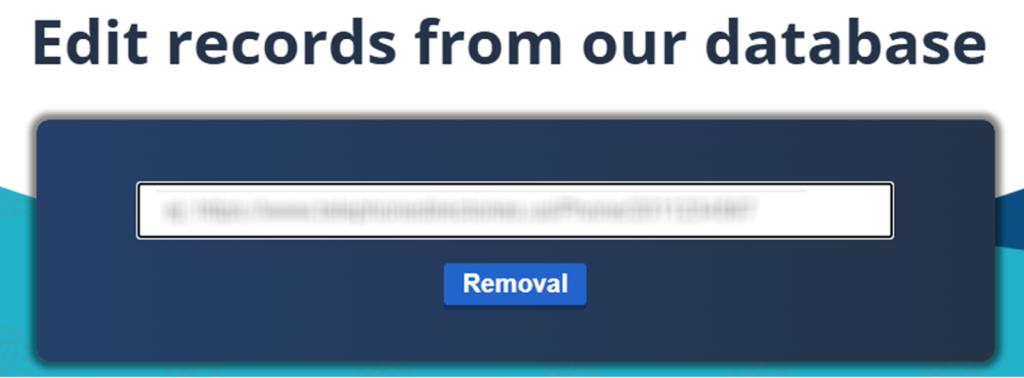
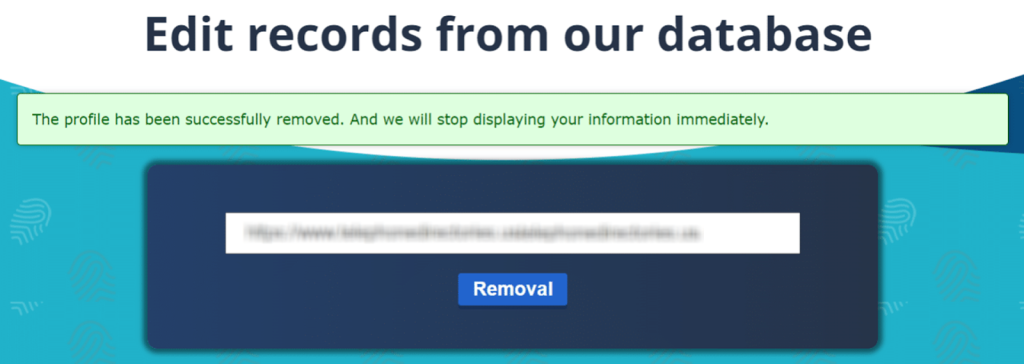
Open the removal page
Open the Removal page in the footer and paste your URL. After you submit, follow any verification shown on-screen. If a code appears, complete it right away and save a screenshot of the success message. Tip: if nothing shows, wait a minute, refresh once, and try again; some browsers block pop-ups by default. Also, check whether your browser is auto-translating the interface, which can hide buttons. Keep your screenshots private and blur anything identifying, including account hints or session details. If the screen times out, restart with the same URL.
Confirm deletion / Do-Not-Sell request
Choose the option that removes the public listing. If you see a success message, capture it, but redact any identifiers. If you don’t get a confirmation, repeat once from the start in a private window, then stop to avoid duplicate entries. Write down any timestamp shown on-screen.
Track confirmation & timeline
Recheck the same URL after a few days. If the listing still appears, try a different browser to rule out caching, and confirm you are viewing the exact same URL. Keep proof so you can re-submit quickly if needed. If it stays visible after 7 days, use the support contact channel and include the URL you used, plus the date you submitted. Tip: Save a dated screenshot and a copy of the URL in a notes app so you can track changes over time.
Timelines, Verification & What to Expect
The platform does not publish a firm processing window, so plan on several days from submission to suppression. Some listings may look removed immediately, but check again after 24–48 hours and again after about a week. Confirmation usually shows on the final page after you submit; save a dated screenshot and note any reference number. If the URL still loads later, test in a different browser to rule out caching. After 7 days with no change, use the support contact channel and include the URL, the date you submitted, and the screenshot of the confirmation message. If the system reports an error, wait a few hours and try one more submission from a private window. Keep notes for future checks.
Edge Cases & Troubleshooting
- No access to the original contact method: use the Contact section and share the URL plus matching details.
- Record not found: try a different spelling or a nearby city that appears on the listing.
- CAPTCHA errors: reload, disable VPN/ad blockers, and try again.
- Verification code not arriving: refresh once and submit once.
- Region block (EU/UK/CA): use the Privacy section to locate alternate instructions.
- Account vs public listing confusion: end billing in your dashboard, but still use the takedown tool for the public listing.
- Re-try after failure: clear cache or switch browsers, then submit again.
Will my data reappear?
A listing can return when sources refresh, including partner feeds and other data broker pipelines. That’s why the re-listing risk is real even after a successful suppression. To reduce repeats, keep your confirmation proof, set a 3–6 month reminder to opt out again, and act fast when you notice a return. If you manage multiple listings, save each URL in a private note and date it, so you can spot changes quickly. If the same person appears under a variant spelling, submit each matching URL separately. It also helps to check related removals next, since the same sources can show up across several publishers. Periodically check Google results and check any new listings that look similar regularly.
Related removals
- Whitepages
- Spokeo
- BeenVerified
- MyLife
- TruePeopleSearch
- Radaris
- PeopleFinders
Manual vs Assisted Removal
Manual:
- Pros: More control and fewer third parties; you can track each listing submission yourself; easy to pause and resume when you have time.
- Cons: More time and repeated monitoring; you must document proof, dates, and URLs on your own.
Assisted:
- Pros: Often quicker, can automate repeat checks, and may offer tracking; helpful when you have many listings across many publishers.
- Cons: You rely on a service and its plan details; you may need to share basic identifiers for matching.
“Excellent”
We remove your data for you - faster, verified, trackable.
Discover Which Sites Share Your Private Details—Instantly and Free.
have already used our service
FAQ
Receive expert privacy advice by email - 1-2 times per month, no fluff.
Share Article

Posted by Ava J. Mercer
Ava J. Mercer is a privacy writer at ClearNym focused on data privacy, data broker exposure, and practical privacy tips. Her opt-out guides are built on manual verification: Ava re-tests broker opt-out processes on live sites, confirms requirements and confirmation outcomes, and updates guidance when something changes. She writes with a simple goal - help readers take the next right step to reduce unwanted exposure and feel more in control of their personal data.
View AuthorMore Phone & Caller ID Lookup Removal Guides
- Addresses.com Opt Out Guide
- AllAreaCodes Opt Out Guide
- AmericaPhoneBook Opt Out Guide
- CallerSmart Opt Out Guide
- Find Who Calls You Opt Out Guide
- NumberGuru Opt Out Guide
- Numberville Opt Out Guide
- NumLookup Opt Out Guide
- PrivateNumberChecker Opt Out Guide
- ReversePhoneLookup Opt Out Guide
- SpyDialer Opt Out Guide
- Sync.ME Opt Out Guide
- Telephone Directories Opt Out Guide
- Truecaller Opt Out Guide
- USPhoneBook Opt Out Guide
- YellowBook Opt Out Guide
- Zlookup Opt Out Guide